High Dynamic Range photography increases the dynamic range of an image by recovering lost details in the highlights and the shadows. Typically, a photographer uses 3 to 7 separate exposures then combines the exposures using HDR software. The result can be subtle and can make an image more closely match what the human eye can see. It can also be used to create hyper-realistic images that some associate with HDR.
HDR from a Single Image
I am often asked if a HDR image can be created from a single image. The reason people ask is because they have an image, with good composition, they took before they started using HDR techniques. The good news is if your photo was taken as a RAW file, you can do a decent job to create an HDR-like image in Photoshop. There are several ways to do this and I will outline one of the more popular ways below.
RAW File
First, find your RAW file; ideally, it should be well exposed with no clipping of the white or black values. Check the histogram to make sure it is within the exposure limits. We are going to make use of more of the information contained within a RAW file to simulate 3 different exposures.

Open your image in Photoshop Camera RAW, the right hand dialog box should be set to basic so that you can see the exposure slider. This slider increases or decreases the exposure, to the left, decreases the exposure and sliding it to the right increases the exposure.
For the first exposure move the slider to the right to +2. This will over expose your image. If your original is properly exposed +2 should work fine but keep an eye on your highlights if +2 blows them out and a lot of clipping occurs move the slider back slowly until the clipping is minimized and the shadows have been lifted.

On the bottom left-hand corner of the Camera RAW window click on “save image…”to open the “save as” dialog. Give the new image a unique name and save as a TIFF.

As I said above when shooting HDR, photographers usually, use 3 to 7 separate exposures. For me, when creating a HDR from a single image I have found that three exposures works the best.
We need to create the other 2 exposures. I like to save a separate “0” exposure so I don’t accidentally save over the original RAW file.
The next step is to save the original exposure, move the slider back to zero, save this image, again use a unique name, and save as a TIFF.
Lastly we need to create the underexposed image. Move the slider to the left to -2, save this image, again use a unique name, and save as a TIFF.

Merge to HDR Pro
Click Done on the Camera RAW dialog to close the window you are now ready to create the HDR Image. On the main Photoshop menu, select File – Automate – Merge to HDR Pro. Click browse to add your saved TIFF files. If you are using the most recent version of Photoshop, the program will do its thing and a Merge to HDR Pro window will pop up with your 3 images already merged.
If you are using an older version of Photoshop, you might get a warning advising you to use original RAW files. You can go ahead and close this window. You might also get a second window asking you to set the exposures you can go ahead and adjust the shutter speed by +/- 2 or increase or decrease it by the same amount that you adjusted in Camera Raw.

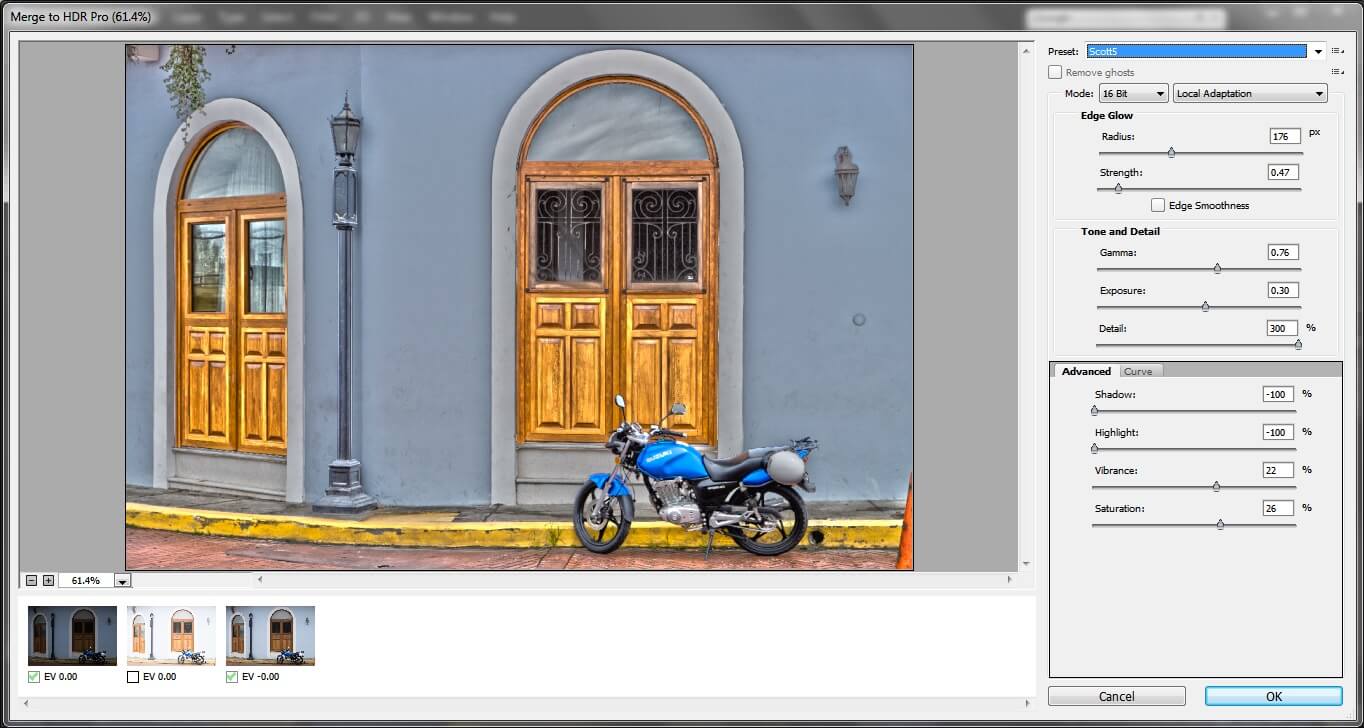
When you get to the Merge to HDR Pro window you can start use the adjustment sliders to archive the look you want. There are 16 pre-sets in the top drop down menu that you can select to get various different looks such as photorealistic, saturated, and Scott5. (Scott Kelby of KelbyOne developed this one) Below the drop down menu are sliders for Edge Glow, Tone and Detail, Curves and an Advanced tab that includes sliders for shadows, highlights, vibrance and saturation.
A single exposure HDR will not be as effective as a multi exposure HDR image however as you can use this technique to improve the look of some images.


Leave a Reply